


A Simple Planter with Timeless Character
Have you ever looked at a simple terracotta pot and thought… this could belong in a vintage garden?
This project starts with a basic planter and turns it into something that feels aged, textured, and full of character. With layered clay details, soft paint finishes, and a weathered look, it becomes a piece that looks discovered rather than decorated.
Be sure to watch the full video tutorial below before getting started.
Shop the Key Products
Tap any item to shop this project.



Materials You Can Shop Here
You can shop the featured finishes and supplies below, then use the tutorial steps to bring the project together.
- Polyvine Exterior Extreme Varnish
- Polyvine Decorators Varnish
- Air Dry Clay
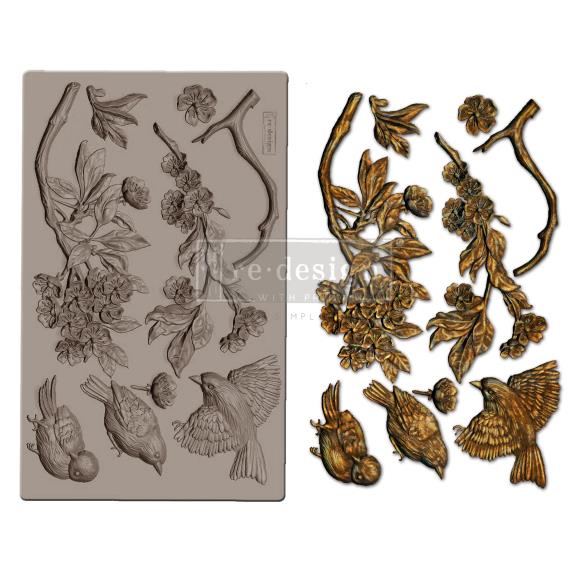
- Silicone Mold
- Aleene's Tacky Glue
- Pentart Acrylic Paint
- Pentart 3D Powder
- Dixie Belle Chalk Paint
- Brushes & Tools
Also Needed
Terracotta Pot.
Step 1: Waterproofing the Planter
Because this project will hold a live plant, the first step is protecting the surface. The entire pot—inside and out—is coated with Polyvine Exterior Extreme Varnish (Satin).
This varnish is designed for outdoor use and provides strong protection against moisture, UV exposure, and wear. Two coats are applied, allowing about an hour of dry time between each.
Waterproofing first ensures that all later steps stay protected.
Step 2: Creating Clay Embellishments
Using Das air-dry clay, decorative elements are pressed into molds and smoothed with water. Freezing the molds for about 20 minutes allows the clay to release easily without damaging fine details.
The clay pieces are removed immediately after freezing and cleaned up while still slightly firm.
Step 3: Attaching the Clay
The embellishments are attached using Aleene’s Tacky Glue while the clay is still damp. This allows the pieces to conform naturally to the curve of the pot as they dry.
Any excess glue is removed right away with a damp brush, and edges are gently pressed down to ensure full contact.
The pot is then left to dry overnight.
Step 4: Creating a Unified Base Color
Once dry, the entire pot is painted with a terracotta-colored paint. This step blends the clay embellishments seamlessly into the original pot so everything looks like one piece.
After the base coat dries, the pot is checked from all angles to catch any missed spots, especially around detailed areas.
Step 5: Adding Texture
To build a weathered look, paint is mixed with Pentart 3D powder to create a thick, textured paste.
This mixture is dabbed onto the surface using a brush, concentrating mostly on the background while lightly overlapping the embellishments. The result is a rich, aged texture that adds depth and character.
Step 6: Highlighting with Dry Brushing
Once the texture dries, Dixie Belle Chalk Paint in Magnolia is used for dry brushing.
With most of the paint wiped off the brush, only the raised areas are lightly skimmed. This highlights the details without filling in the crevices, enhancing the aged effect.
Step 7: Sealing for Protection
To lock everything in place, two additional coats of Polyvine Exterior Extreme Varnish are applied. Each coat dries for about an hour before the next is added.
This step ensures the pot is fully protected and ready for outdoor use.
Step 8: Creating a Matte Vintage Finish
Since a shiny finish can make the piece look new, a final coat of Polyvine Decorators Varnish (Dead Flat) is applied.
This removes shine and gives the planter a soft, matte appearance that feels naturally aged—perfect for a vintage garden look.
The finished planter has a beautifully worn, textured surface that feels like it’s been part of a garden for years.
Stay Connected
Before you go, be sure to subscribe to our newsletter. You’ll receive 10% off your next order, along with early access to new arrivals, restocks, seasonal projects, and special offers just for subscribers. We love crafting alongside you and can’t wait to see what you create next.